BenQ
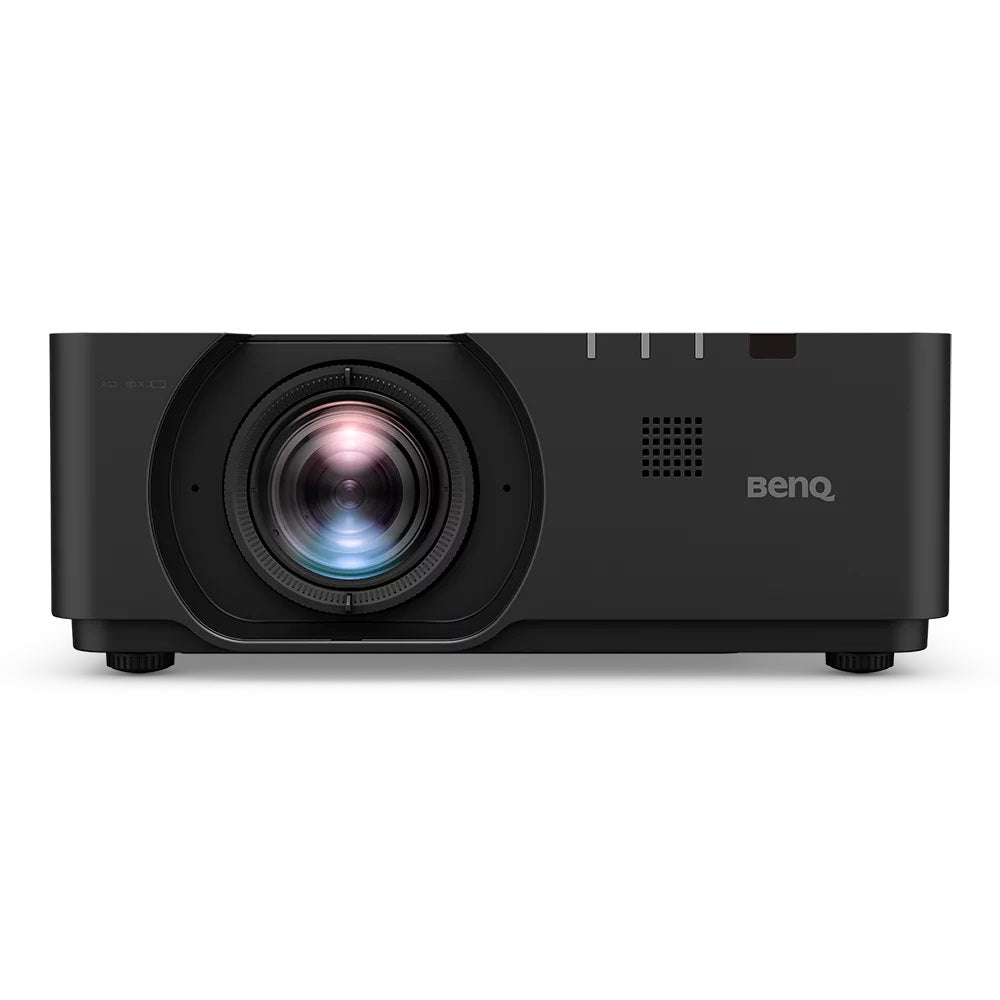
BenQ LU960ST2 5200 Lumens WUXGA Short Throw Installation Projector
BenQ LU960ST2 5200 Lumens WUXGA Short Throw Installation Projector
The BenQ LU960ST2 WUXGA 4K Short Throw Laser Golf Simulator Projector boasts an impressive 5200 lumens to bring unparalleled true-to-life images to your golf simulator studio. Featuring an Exclusive Simulator Mode, the LU960ST2 offers a seamless user experience with pre-calibrated settings for optimal simulation at the touch of a button.
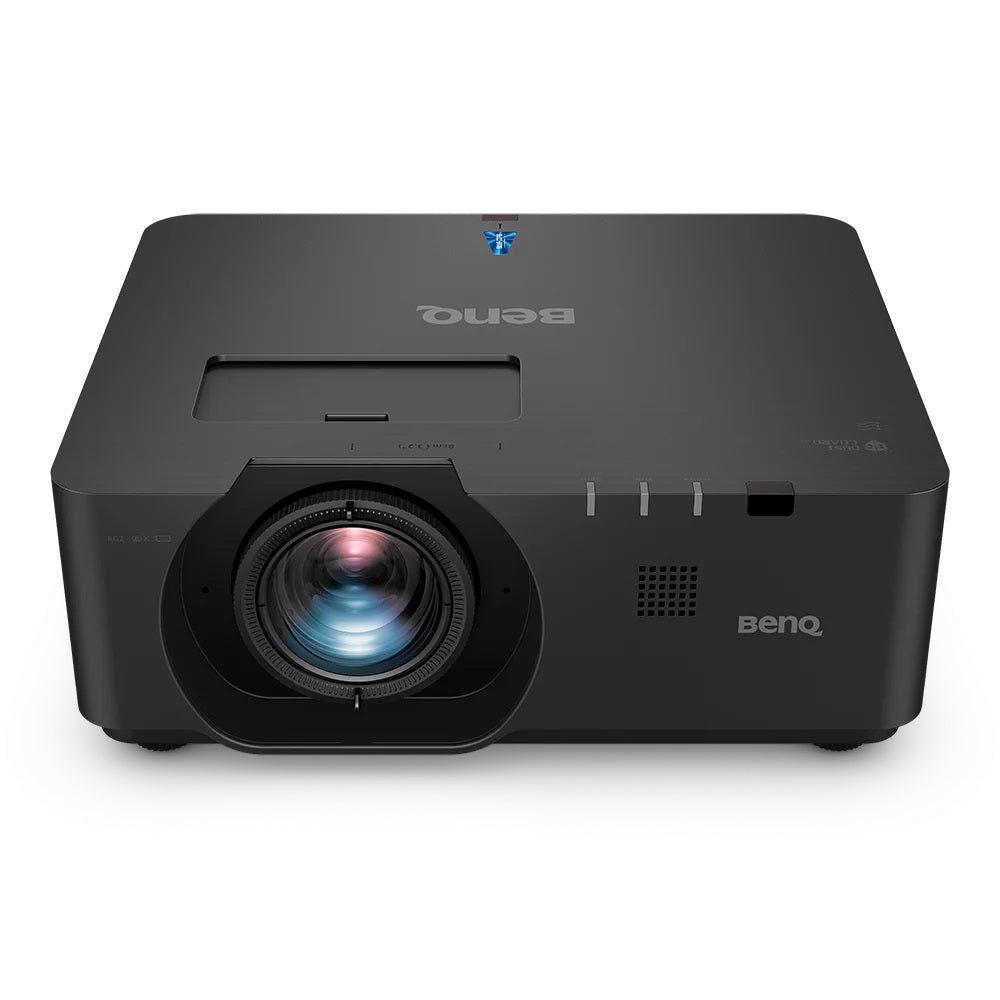
The LU960ST2's 0.5 throw ratio makes it the ideal candidate for confined golf simulator studios that require the projector to be in close proximity to the impact screen. Create up to 200-inch sharp and clear images within only 2 meters of your impact screen while horizontal and vertical lens shift enables you to move the image up and down up to 55% of the screen height and adjust the horizontal position by 23% for an off-axis mounting location.
BenQ's signature DLP Laser Technology provides for long-lasting vibrant color so your simulated golf course images are nearly indistinguishable from real course conditions. Sealed laser modules and enclosed light engines prolong the projectors lifespan up to 20,000 hrs, while the DLP chip is hermetically sealed to resist heat for over 200,000 hours without degradation.
Exclusive Fast Mode backed by BenQ's experience with near-zero latency gaming provides latency as low as 16.67ms to bring low-latency interactivity for heightened levels of responsiveness and realism to your golf simulator experience. Experience the pinnacle of simulated image quality packaged in this ultra-short throw projector to take your golf simulator studio to new levels!
Regular price
$7,499.00
Regular price
Sale price
$7,499.00
Unit price
per
Shipping calculated at checkout.
Couldn't load pickup availability
 FREE SHIPPING
 PRICE MATCH GUARANTEE
 REAL HUMAN SUPPORT